CBC-PROC-294 Version 1 last review date: Oct, 2021
1. Review Exising Scheduled Reports
ℹ️
This section covers how to review previously created Scheduled Reports for yourself or others.
⚠️
The ability to see and edit Scheduled Reports for others is a role-based permission. Not all users will have this permission.
1.1. Navigate to the Scheduled Report List
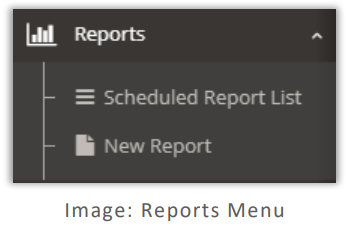
- From the Navigation Panel, click the ‘Reports’ menu option.
- Click the ‘Scheduled Report List’ menu option.
1.2. Show all and filter
- To see reports for others, uncheck the ‘Show only my reports’ checkbox. This will allow the list to display Scheduled Reports for other Users that you have access to.
- Utilise filters to find existing reports and use the Edit and Delete buttons to modify as needed.
1.3. Scheduled Report List fields
| FIELD | PURPOSE |
|---|---|
| Parent Type | Displays and allows filtering on the Parent Type of the user who will receive the report. Options include ‘Client’, ‘Int. Provider’, ‘Ext. Provider’, ‘Tenant’. |
| Parent | Displays and allows filtering on the Parent of the user who will receive the report. Can be a Provider name, a Client name, or the Tenant name. |
| User | Displays and allows filtering on the user name of the user who will receive the report. |
| Report Type | Displays and allows filtering on the Report Type of the report that will be generated. |
| Active | Displays and allows filtering on the Status of the Scheduled Report. Inactive reports will not generate even if they reach their Next Generation Date. |
| Frequency Setting | Displays and allows filtering on the frequency the report will be generated. |
| Context Options | Displays and allows filtering on the context options selected for the report to be generated. |
| Next Generation Date | Displays and allows filtering on the date at which the report will next be generated. |
| Last Generated Date | Displays and allows filtering on the date at which the report was last generated. |
2. Creating a New Scheduled Report
ℹ️
This section covers how to create a new Scheduled Report.
2.1. Start a new report
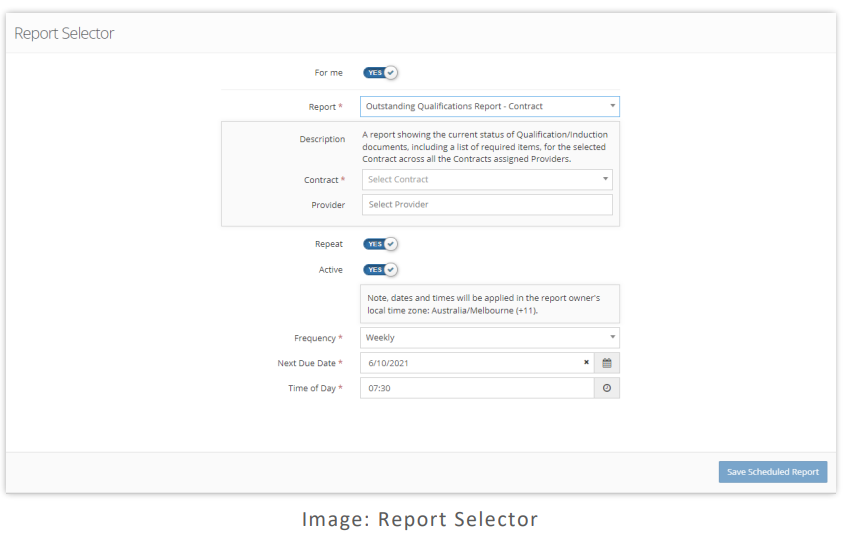
- From the Navigation Panel, click the ‘Report’ List, and then click the ‘New Report’ menu to open the ‘Report Selector’ pop-up form.
2.2. Select a User
By default, new reports will be generated for yourself. If you wish to create a report for another user, switch the ‘For me’ toggle off. This allows you to select a Parent Type, Parent and ultimately, a User to generate the report for.
2.3. Select Context Options
- Select the Report Type you wish to generate.
- Select values for each required field.
2.4. Select a Repeat option
By default, reports will be generated instantly. To enable reports to be generated periodically
- Turn on the ‘Repeat’ toggle.
- Select the Frequency.
- Select the required fields based on the frequency you have selected.